Light is the essence of
Creating dramatic lighting is all about mood and atmosphere. How you manage the light, and your camera settings will combine to create the mood that best suits your subject. Your creative intention is also vital when making use of dramatic lights. How you manage the light must match the intention you have for the photo.
Any subject can look different because of the lighting. Creating dramatic lighting or using a light modifier to soften the light will result in very different photos.
What is Dramatic Lighting?
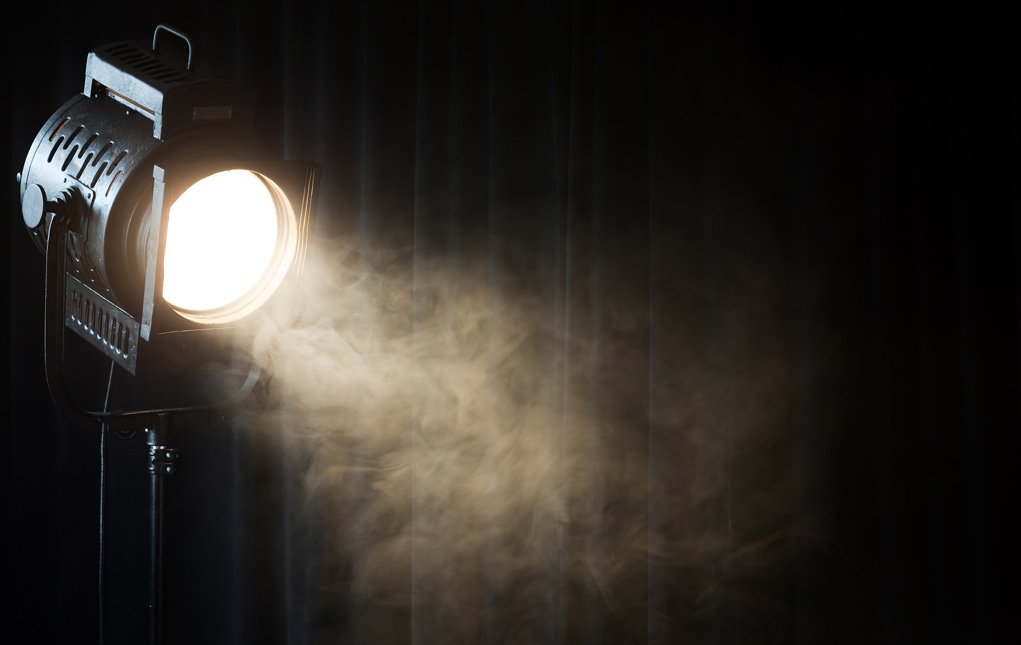
Dramatic lighting is all about the contrast between light and shadows. When you are taking photos with bright light, there will often be strong shadows.
Contrast like this is strongest when there is one light source creating hard light. Light with a very narrow beam will create more contrast for having a more dramatic effect. Any light that’s not coming from the same angle or light source will reduce the contrast. Having multiple light sources means that shadows will not be so strong.
This does not mean that soft or multi-directional light cannot be dramatic light. Sometimes soft light can be dramatic. This depends on your subject and also on how you manage your exposure settings. More on this soon.
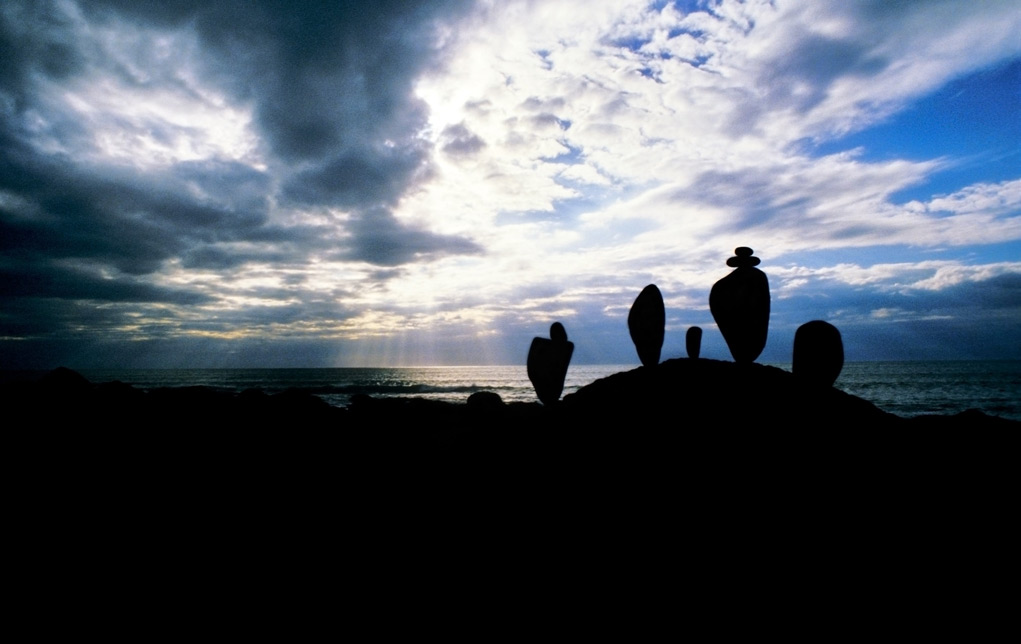
When soft light is coming from one direction and creating deep shadows, this is also dramatic lighting. If the light source is very large, the lighting will not be so dramatic because it will not produce deep shadows.

Outdoors on an overcast day, you’ll need to use some lighting equipment if you want to produce dramatic light. This is because the clouds scatter the sun’s light so much that it fills in all the strong shadows, and the contrast is low.
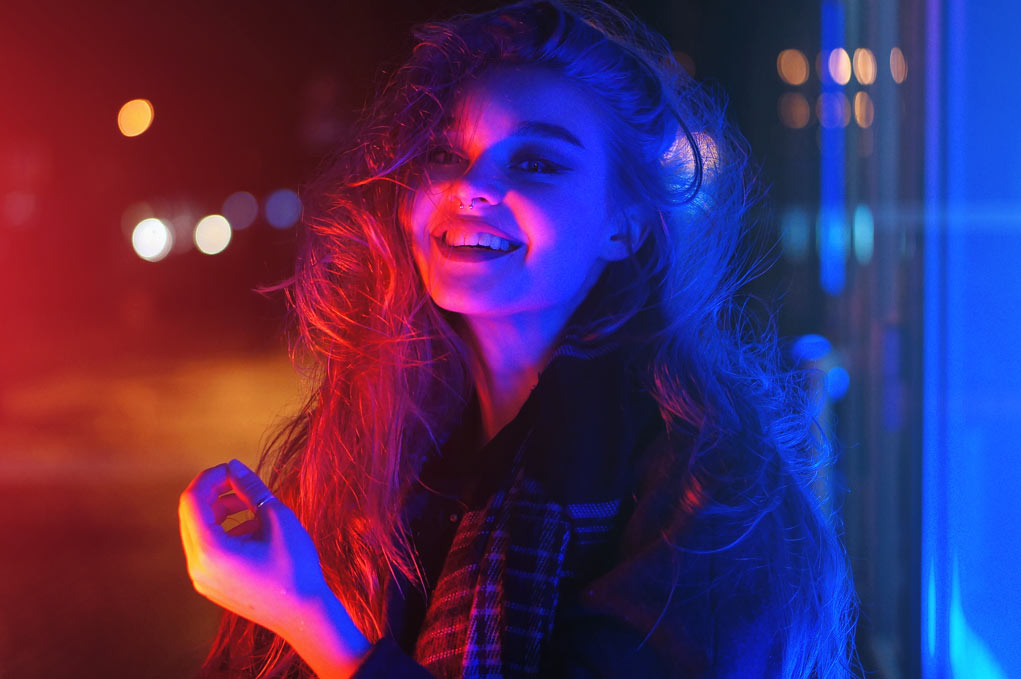
Portrait
The dramatic effects of light are also controlled by how you set your exposure. Using manual mode allows you to make the most of dramatic lighting.
Do We See Dramatic Lighting the Same Way Our Camera Does?
With high contrast lighting and strong shadows, we may not see our subject the same way our cameras will capture a photo of it.
Our eyes can see a broader dynamic range of light than digital cameras can currently record. This will change as technology continues to advance and camera sensors improve.
The sensor in a camera has a set ISO, so it records an image based on how responsive the sensor is to light. Our eyes do not have this limitation. So we will sometimes see a subject differently, particularly in dramatic lighting situations.
How you take a light meter reading and set your exposure also has an impact. This influences whether photos taken in dramatic light will look like how we see something or not.
If you are using film, the dynamic range is much narrower than a modern digital camera. This means less detail can be recorded in the highlights and deep shadows.
For this reason, some photographers prefer not to take photos in hard light—particularly those who enjoy using any of the semi-automatic modes. You may have heard photographers say that the light in the middle of the day is not so good. This is a common opinion often shared because the light is harsh and creates strong shadows.
To make the most of how we use our cameras in dramatic light, it pays to have an appreciation for how a photo will look compared to how we see a subject with our eyes.
What Type of Light is Dramatic?
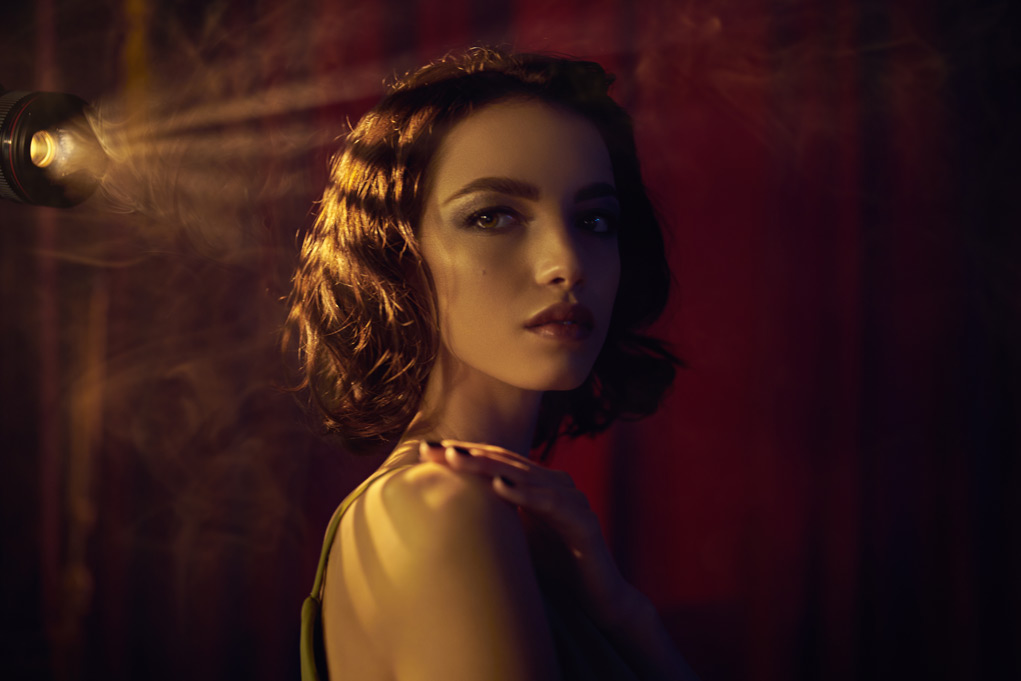
Almost any kind of light can be dramatic. When you are working with soft light, you can make a dramatic photo with the right subject and exposure settings. Using a rim light can create dramatic portraits.
Hard light is the most common form of dramatic lighting because it creates strong shadows.
When using artificial light sources, you can create dramatic light using a lighting modifier like barn doors. You might use a strong, directional main light with a patterned light behind your subject. Or you could create a hard light by using a lighting modifier to limit the spread of your main light. Often, the less fill light you use, the less dramatic the light will be.
When you want to avoid dramatic lighting, you can introduce other light sources to create balance, and a move evenly lit composition.
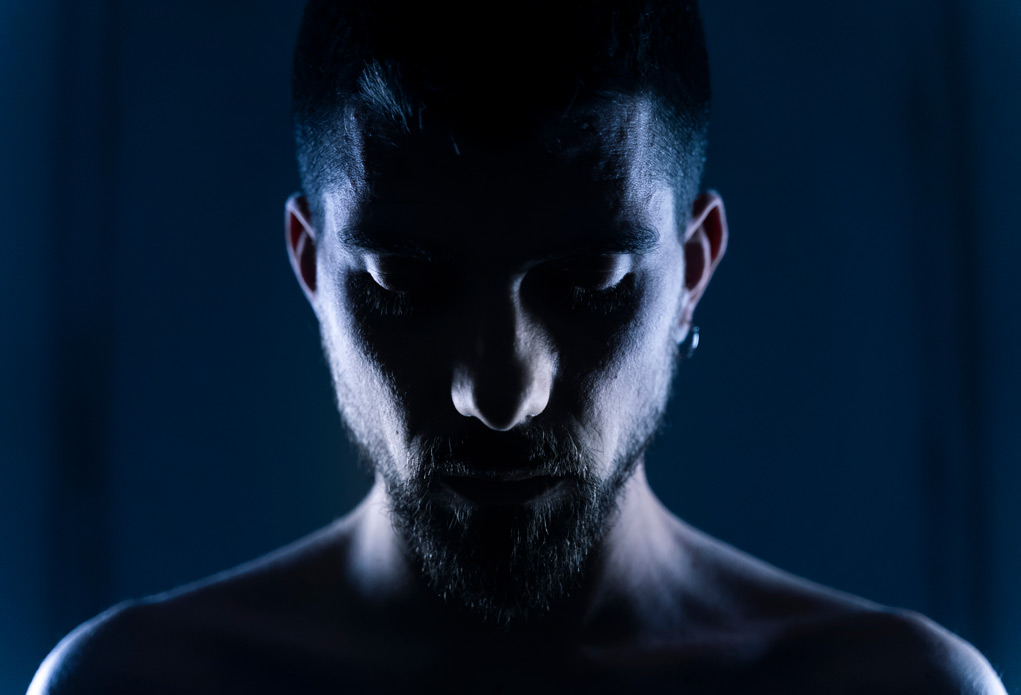
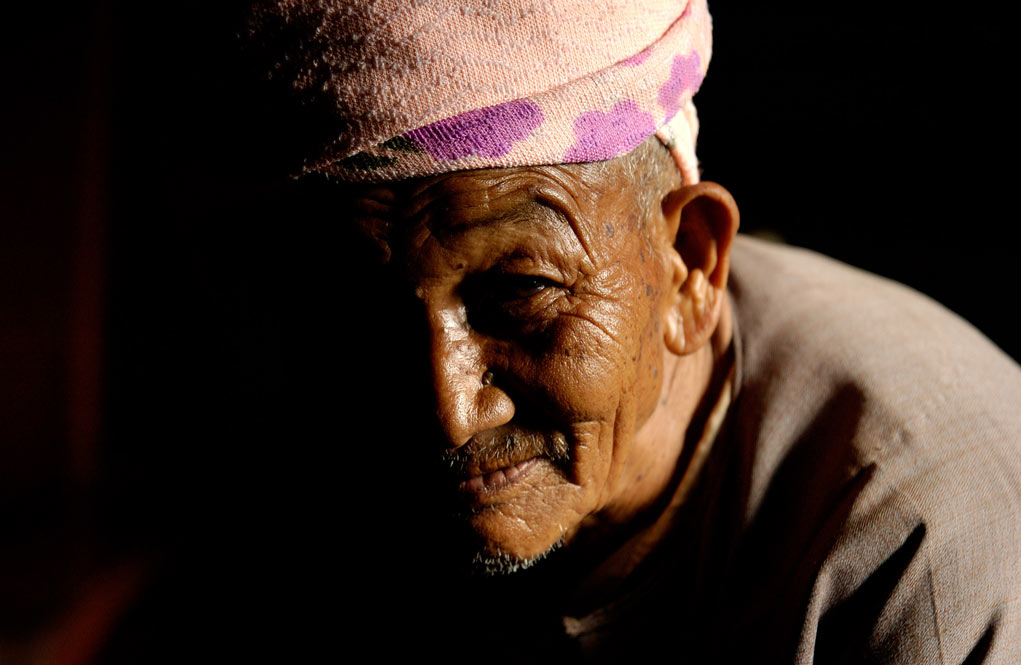
The direction of light also has an influence on whether it’s dramatic light or not. We have all seen dramatic portrait lighting used to evoke fear or a menacing look. This is typically done by placing a strong main light below a subject’s face and pointing up. Light falls on the face from below it and casts shadows where we do not expect to see them.
Light on a sunny day can be dramatic. Either outdoors or indoors. Window blinds can help make dramatic indoor photos. In hard sunlight, they can make an interesting pattern on the background behind a portrait subject. Or they can be used to keep the background dark.
In the open shade, it is more challenging to create dramatic portrait lighting. If you can find a dark background and there’s enough contrast between that and your subject, you can take dramatic photos.
How to Use Dramatic Light Most Effectively for Portraits?
When you match dramatic lighting with your subject and your intent for making a photo, it is most effective. When you know you want to add drama to a photo, the best thing you can do is control the lighting. Truly dramatic images almost always have dramatic lighting.
Having control of the lighting makes it easier to create contrast and a more dramatic photo. If you can control all the lights, you can add more drama. Being able to raise or lower the flash power is also important.
Dramatic portraits often have one main light that’s carefully controlled. There will be little or no fill light to diminish the strong shadows. The direction of the main light is also important. If the light is to the side, it is more likely to create a dramatic effect. Having the main light in front of your subject and too large and soft will not create such dramatic portrait
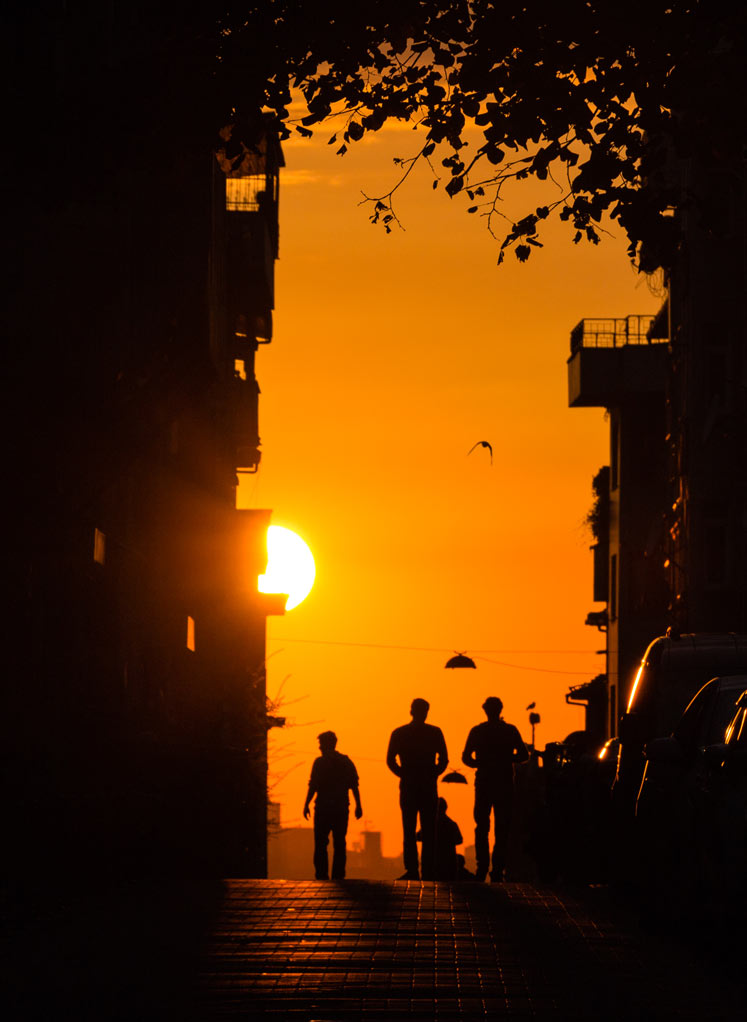
You ideally want to create hard light for the most impactful dramatic
What Camera Settings Are Best For Dramatic Light?
For dramatic lighting, I prefer to use the spot meter to take a reading from the brightest area of the composition. Then I manage my exposure settings manually.
I will have set my ISO already based on the general lighting conditions and keep it as low as possible. This typically means I aim to use a shutter speed that is not too slow to risk camera shake. If my subject is moving, I also take this into account.
I’ll then set my shutter speed and balance it with my aperture setting. The tone of the area I am taking a spot meter reading from influences the choices I make in adjusting my exposure triangle settings. I will also check my histogram and highlights indicator so I can be aware of any areas that may be overexposed and contain no detail.
If I am taking a reading from a white or very light-toned portion of the composition, I’ll often open up my aperture or slow my shutter speed. This means the light area will look most realistic, and any dark shaded areas will appear very dark.

This ensures my exposure is tuned to make the light look as dramatic and full of contrast as possible.
Sometimes, depending on what I am photographing, I’ll also take a spot reading from the darkest areas of a composition. I can then calculate the contrast level between the brightest and darkest areas. This can also guide me as I adjust my exposure settings.
I prefer always working in manual mode and not any of the semi-automatic modes. This gives me more accurate control of my exposure. Using the Zone System, I can control how the tones and contrast in my photo look.
How Do You Make Dramatic Lighting at Home?
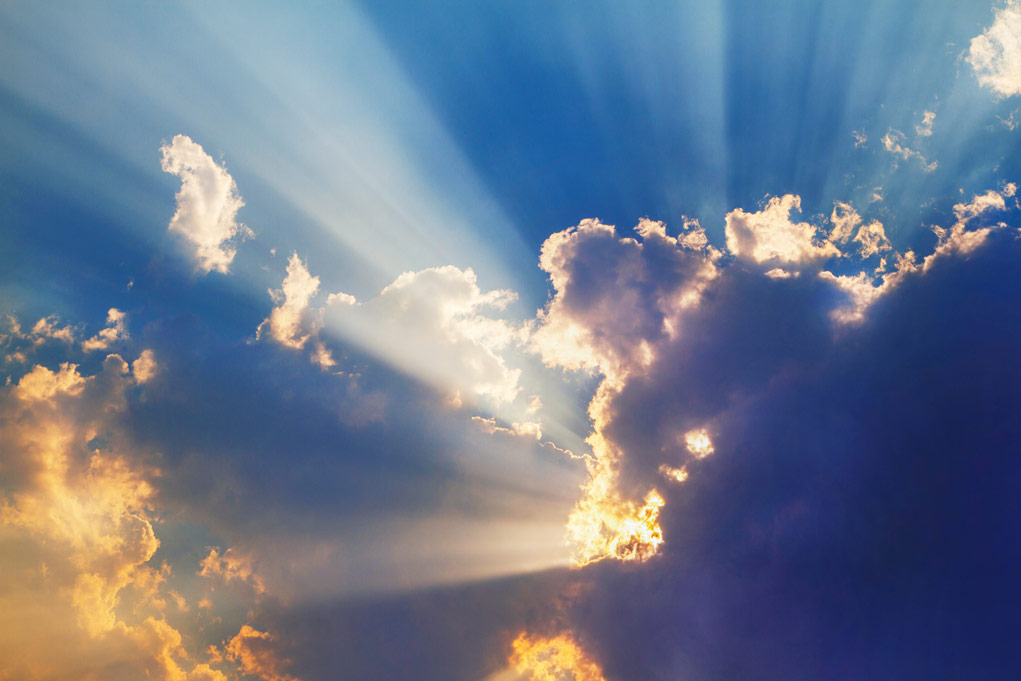
You can make the most of dramatic lighting
Working with ambient lighting, you can still create dramatic effects. Being able to ‘see’ the light and discern the contrast levels enables you to do this well. As you practice looking at contrast, you will notice your skill level develop over time. Before long, you’ll notice when the lighting conditions are favorable for taking a photo with dramatic lighting.
Controlling the light sources gives you greater flexibility. This can be as simple as closing all the doors and windows in a room except for one. Then there’s light coming from one source and one direction. You’ll want to keep all the lights in the room turned off and aim to have a dark background. This will enhance the dramatic effect.
Using a flash or continuous light, you’ll have even more control. It’s important to control the flash power and distance from your subject. If you don’t, you may not capture the desired effect in your photo.
Having control of the direction and power output of your light enables you to position it to make the most of the shadows. With continuous lights, like LEDs, it’s easier because you can see where the shadows are. Using an off camera flash, you need to take a test photo each time you change the position of your flash.
Using a diffuser on your flash or lights to help guide the direction of the light makes dramatic lighting more effective. You can control the parts of your composition where you want the light to illuminate and keep light off the background.

Conclusion
I think the most important consideration when using dramatic lighting is that it matches your subject and your intent. How you light your subject determines so much about a photo. With soft light or hard light, the same subject can look very different.
You might be photographing a landscape or a newborn baby. Both of these subjects are often photographed in soft light, which is a lot less dramatic. But maybe you want to create some drama. Making use of hard light will enable you to create very different-looking photos.
Knowing how to manage your exposure settings is also vital when you want to take photos with dramatic lighting. If the light is hard, you will not automatically end up with a dramatic image. Exposing for the highlights means the shadows will be much darker, and the overall feel of the photo will be more dramatic.
Taking an averaged light meter reading and using any of the semi-auto modes on your camera generally results in flat-looking exposures. This is because the camera is programmed to even out the contrast in a scene.
Post-processing will also have an overall effect on how dramatic the lighting in your images appears. You can alter the tone curve and use other tools in editing software to greatly manipulate a well-exposed image.
I have been working on a project to photograph the rice-growing season for my 365 Days of Photography Course. Most of the images are landscapes. Many of them I have taken in hard light and exposed for the highlights. I have then adjusted the levels of contrast as I am post-processing to make more dramatic lighting.


