
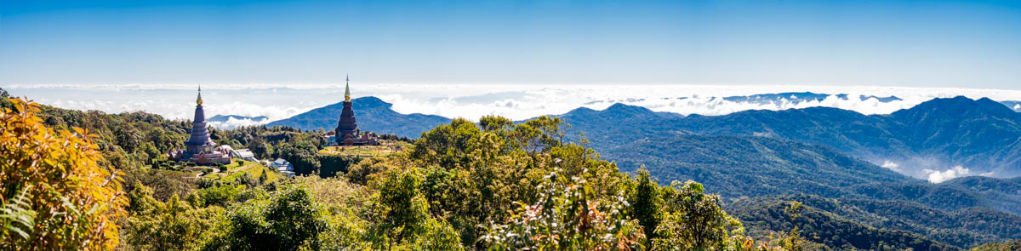
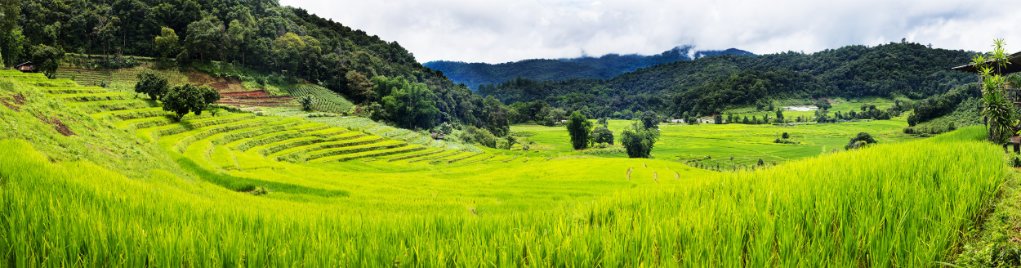
Sometimes you come across a scene that a single image cannot capture enough of it. Time like this it’s great to make a panorama. Phone cameras make it pretty easy as they have software that captures a panoramic scene with a photomerge app. But if you want real quality you’re best to take a series of photos with your camera and create a panorama in Photoshop.
In this article, I’ll share the step by step process I use to take and stitch together panorama images using Photoshop. Making a panorama photomerge in Photoshop is a little more complicated and time-consuming. But the level of quality is not matched by a phone app or a compact camera.
Taking photos for a panorama is pretty easy, but there are a few tricks that will make the process of stitching your images together more effective.
Taking Photos for a Panorama
Some photographers prefer to be super precise. Always using a tripod and measuring everything. I generally take a more relaxed approach. You don’t need a tripod to create a panorama.
Typically, panoramas are horizontal. If the scene you are taking in is very wide, you must be aware that geometric distortion can occur. As you create your series of photos for the panorama, it’s best to leave extra space above and below. This will allow for geometric distortion correction when you stitch images together in Photoshop.
The closer you are to what you are photographing the greater this distortion appears.
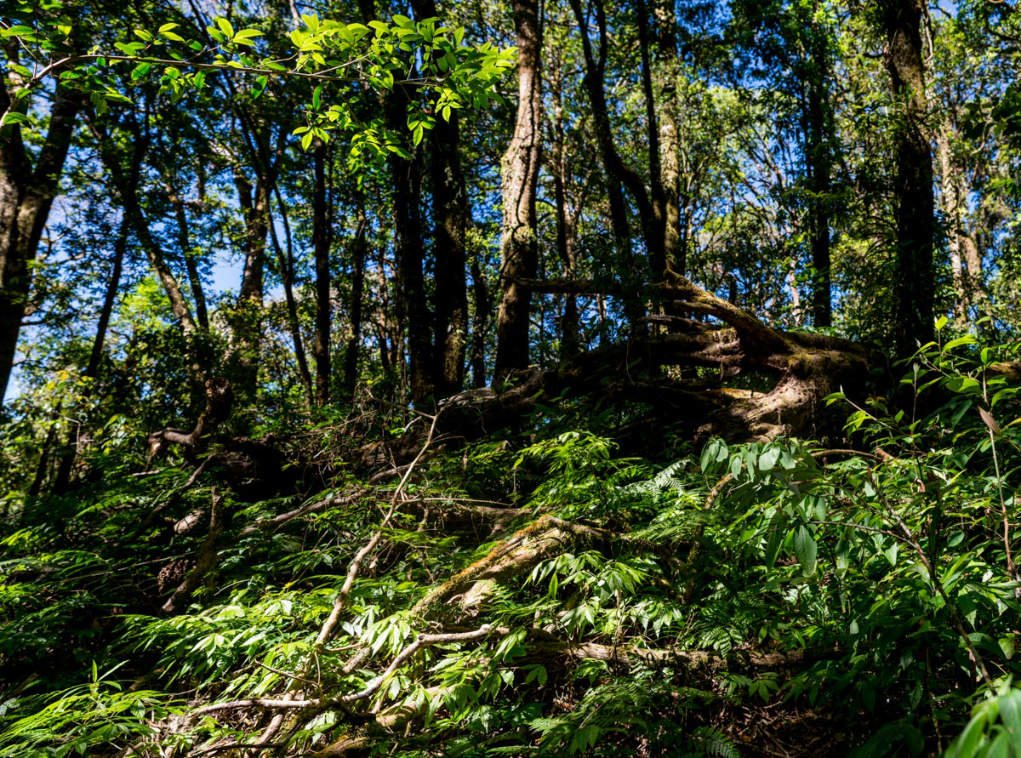
The same goes for making vertical panoramas. If you make a panorama looking up at a tall tree or building, the closer you are, the more bent your subject becomes when you photomerge your images.

Which Lens to Use for Making a Panorama?
I use a 50mm lens or longer focal length. You may be tempted to use a wide-angle lens so you’ll have fewer photos to create your photomerge. The wider the lens you use, the more optical distortion is has. This makes it difficult or impossible for Photoshop to perform a clean photo merge.
Choosing a standard or longer lens means you have to take more photos, but it also means the finished panorama will be higher resolution. You’re also less likely to encounter problems with geometric distortion.
What Exposure Settings are Best for Panorama Images?
I always use Manual Mode when taking photos. This is best when you are making panorama photos as well. You can control the exposure so each image will match with the others. If you use an automatic exposure mode, the camera may adjust your exposure from one photo to the next. When this happens, there will be a difference in tone on each image. The images will not blend together seamlessly.
Even as you choose a scene to create a panorama from, consider the light value across the whole view. When there’s a great variation in the lighting from one side to the other, or from top to bottom, it will be more challenging to create a clean photomerge.
Is it Best to Use Manual or Auto-Focus?
Manual focus is best when taking photos for a panorama photo merge. I choose one spot to focus on that will give me the depth of field I want across the whole panorama. Often, with landscape panorama images, you’ll want as much in focus as possible.
Setting a narrow aperture and calculating the hyperfocal distance will guide you are to where to focus. You can use autofocus as you prepare to take the photos. Once you have your first image in focus, turn off the autofocus on your camera or lens.
If you refocus as you make the photos for your panorama, the photomerge function in Photoshop may not match the images well. There could be blurred areas in some images that are sharp in adjoining images.
How Much Overlap is Needed For Panorama Images?
Start taking photos at one end of your scene. Work progressively across the whole scene. Overlap each image by 30% to 50%. Look at what you’re framing in each photo and make sure that about half of it is included in the next composition you make.
Ensuring you have enough overlap on every image makes it easier for Photoshop to blend images together. The content aware software finds the same elements in images. It automates the photomerge technology to seamlessly join each file. When you don’t create enough overlap, Photoshop will not have sufficient data to work within each file. It will not be able to match the images together.
Do You Need to Use a Tripod to Create a Panorama Photomerge in Photoshop?
Using a tripod is optional. Often I prefer not to use a tripod.
The two main advantages of making the images for a panorama photomerge are:
- The ability to be more precise.
- Being able to use a slower shutter speed.
With your camera mounted on a tripod, you can be more accurate as you take each image. Some photographers like to measure everything so each image they take has the same amount of overlap. A tripod makes this possible.
Using a tripod with a built-in level helps to keep your series of images consistently in line. It’s not too difficult to line up your images while hand-holding your camera. Making sure you have a good amount of space above and below helps you build a panorama without losing details in your scene that you wish to retain.
When you want maximum depth of field you need to choose a narrow aperture setting. This might force you to use a slow shutter speed. Having your camera on a tripod will let you use slower shutter speeds and maintain good depth of field.

Is it Best to Take Photos for a Panorama Horizontally or Vertically?
Take the photos for your horizontal panorama with your camera vertically oriented. This makes the photomerge process more streamlined. With a series of tall photos, you have more options to trim them after Photoshop carries out its automate photomerge process. For vertical panorama images, I use my camera horizontally.
You’ll end up having to take more photos to cover the area you want to make a panorama from, but the results will be better and higher quality.
Take More Photos Than You Think You Will Need for a Panorama
Don’t skimp on taking photos. Go beyond the edge you first think you’ll include. If you’re photographing a particularly spectacular panorama, make more than one. Change focal lengths. Shift your location to an alternative place. Come back when the light is different.
If the scene is really that good, don’t limit yourself in how you approach making your panorama. When you first start to make panoramas you’ll need to practice with these techniques to become proficient. The best option you have is to return home with too many images rather than not enough.
Top Tip
Before you start taking the photos for your panoramas, take a blank frame. Do this after you take the last photo also. I usually hold my hand over the lens and squeeze off a frame. This allows you to know exactly where you begin and end each panorama you make.
Create You Panorama Photomerge in Photoshop
Once you’ve taken your photos, load them to your computer in a single file directory. Process them to get each image looking right. I will usually work on one image from the series. Once I have it looking good, I’ll copy and paste the adjustments I made to the other images in the series. This helps keep the look consistent across the panorama.
In Photoshop, from the top menu chose File > Automate > Photomerge. Browse to the folder you stored your images in and select each of them. Click OK. You will now see a list of the image files in the photomerge dialog box.
Setting Up Your Panorama
Before you click OK, there are a few other options you need to pay attention to. Below the list of files there are four checkboxes:
- Blend Images Together
- Vignette Removal
- Geometric Distortion Correction
- Content Aware Fill Transparent Areas.
Each of these can help control aspects of how Photoshop merges your photos. These are options because every panorama you make is different. These features will work better on some panoramas than on others.
Experiment and see which setting combinations produce better results. Some panoramas may not require any vignette removal. Others will benefit. If your panorama is not very wide and the subject is not close, no distortion correction will be needed.
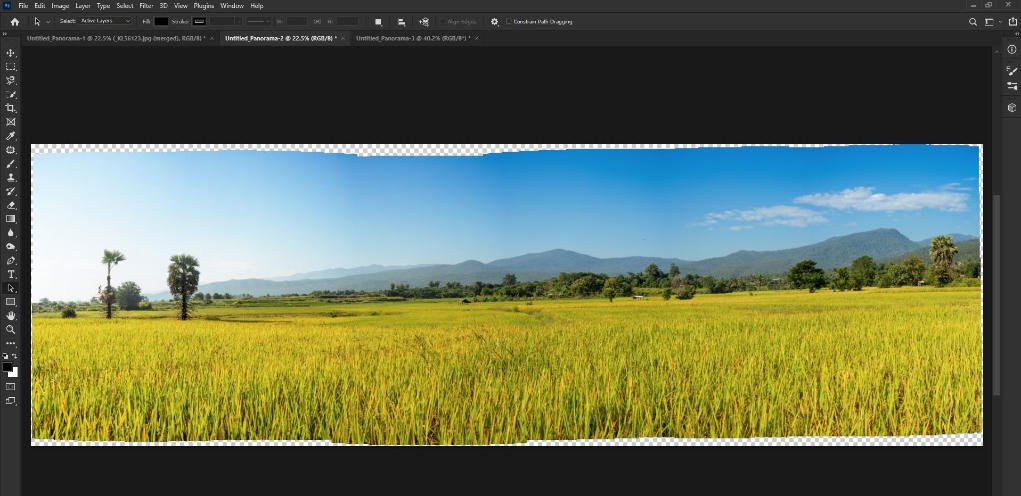
When Photoshop performs the merge, some space is left at the top and bottom of some images in the panorama. By checking the content aware fill option, Photoshop will attempt to fill these areas. Once the photomerge is completed, there will be an outline of marching ants on the image to indicate what areas Photoshop has filled in.
To the left of the list of image files, there are options for the type of panorama you will create. Unless you’re working on a panorama that needs to fit a specific style, choosing Auto usually works best.
Completing Your Photoshop Photomerge Panorama
When you’re ready, click OK. Photoshop will begin to work its magic. You’ll see each image in your panorama appear and be compiled into separate layers. Photoshop will carry out the instructions you created with the checkboxes in the Photomerge Dialog box.
You’ll end up with a single image consisting of multiple layers. There may also be a merged layer at the top of the layers panel if you opted to Content Aware Fill the transparent areas.
If you’re not satisfied with the way your panoramas look, go back to File > Automate > Photomerge. Repeat the process using different settings. Try including the distortion correction if you didn’t on the first attempt. Or experiment with the options on the left-hand side. Each of these can produce quite different results.
If you’ve taken some oddball photos that don’t match with your others in the panorama series, Photoshop may not know what to do with them. Here’s an example of what will happen.
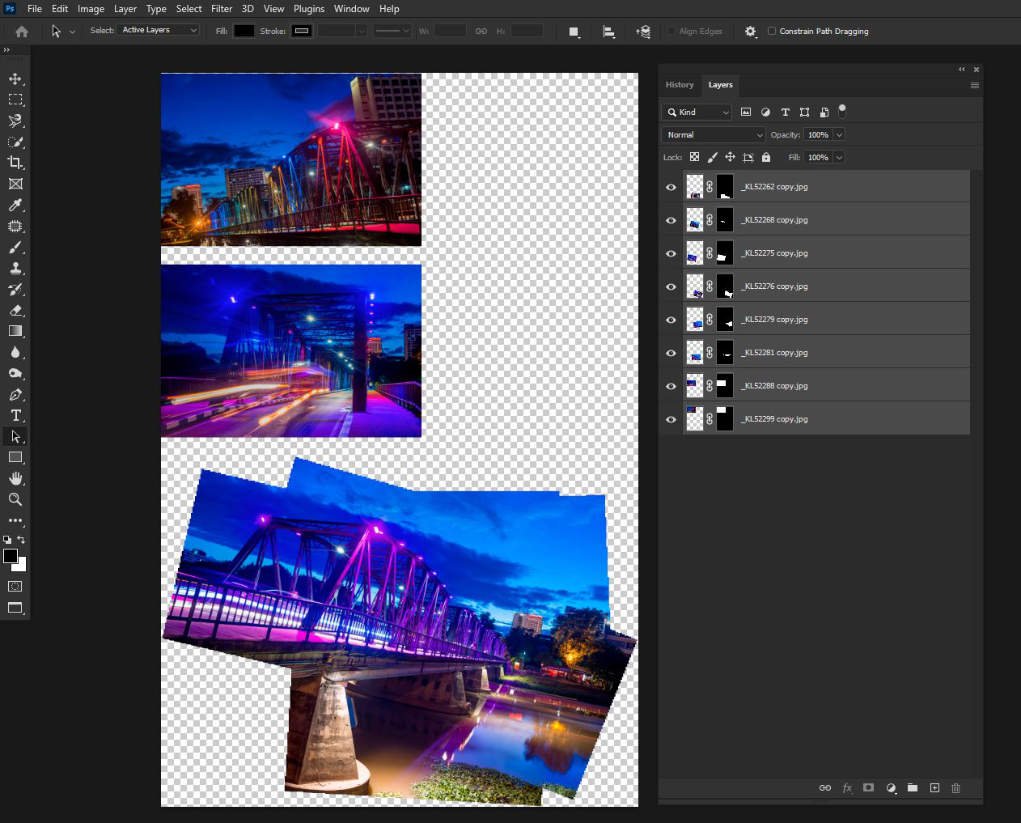
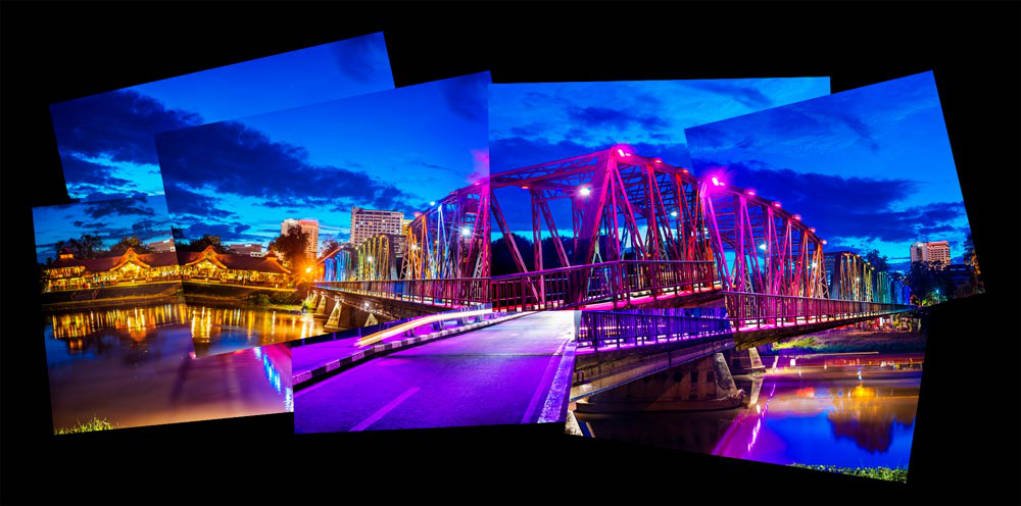
I took these photos for one of my photomontages. When I am taking the photos, I often move locations, as they are not designed to be lined up precisely.
I selected this series of images and checked the Collage option in the Photomerge Dialog box. Photoshop did not position all the images because there was nothing to match in some of them.
Conclusion
To create panorama in Photoshop you need to prepare well. The more you keep in mind what you are aiming at as you take the photos, the more successful your final image will be.
This automated panoramas feature in Photoshop continues to develop. It becomes more powerful with each version of the software. It makes creating panoramas a whole lot more fun than doing the process manually.


